Showing posts with label BBQ. Show all posts

Monday, July 16, 2018

Crock Pot Cooking


One of my favorite cooking tools for the summer months is my crock pot. It doesn't heat the house up like the oven does, I can start it in the morning and not have to worry about dinner getting started when I am out running errands or doing afternoon classes.

Food $ense teaches an amazing slow cooker cooking class and you can learn to adapt ANY recipe to be used in your slow cooker.

If standard recipe says: 
Standard Recipe       slow cooker on high heat          Cook in slow cooker on low heat
15 to 30 minutes              1½    to                                  2 ½hours 4-6 hours
35 to 45 minutes              3-4 hours                              6-10 hours
50 minutes to 3 hours       4-6 hours                            8-18 hours

From my extremely informal research, these are my top three favorite slow cooker recipes.


Beef Goulash   Or Veggie Stew  You can load this up with seasonal veggies or you can use canned or frozen vegetables in the winter time. With the addition of whole grain pasta this is a meal really worth putting on your favorites list.

Lime and Cilantro Chicken This is amazing just served with rice. But if you use the Food $ense "cook once, eat twice" program you can have amazing chicken tacos or fajitas on the second night!


BBQ Pork There isn't anything that this isn't amazing with. It is yummy on rolls and in tortillas, it is great on salads and just plain.  You can make it as spicy or as sweet as you choose with the sauce that you use.

I love my slow cooker, especially in the summer months. I urge you to pull yours out and start experimenting with it.

Friday, January 5, 2018

Skillet BBQ Pineapple Chicken


This quick skillet meal is one of our family favorites.  I really like it because you can use pretty much any chicken that you have.  You can substitute thighs for the breasts of you can use chicken tenders. I cut chicken breasts into cubes and use that because I want them to cook evenly. But if you want to use the full breasts, just pound them a bit to make them more even, so they cook evenly in your skillet. 


I start a pot of rice first thing when I am making this. The skillet meal comes together so quickly that your rice will be the thing that you are waiting for. Use brown rice for added nutrition and to increase the amount of whole grains that you are eating. 


Ingredients

1 Tbsp cooking oil
3 boneless skinless chicken, diced in 1 inch cubes
Pinch Salt and pepper 
20 oz. can Pineapple slices in juice
1/2 cup BBQ sauce 

Directions

Heat a large skillet over medium heat and add the cooking oil and swirl to coat the surface. While waiting for the skillet to heat, season the diced chicken breast with a little bit of salt and pepper.

Once the skillet is hot and the oil is shimmering, add the diced chicken and cook until cooked through. Remove the cooked chicken to a clean plate.

While the chicken is cooking, drain and reserve the juice from the canned pineapple slices.

After removing the chicken from the skillet, turn the heat down to low and add about 1/2 cup of the reserved pineapple juice. Stir to dissolve and loosen the browned chicken bits from the bottom of the skillet. Once everything has been loosened from the skillet, add the BBQ sauce and stir until a thick sauce forms. If your sauce gets too thick, simply add another splash of the reserved pineapple juice.

Add the cooked chicken and pineapple slices to the skillet, dredging both sides in the pineapple BBQ sauce.  Spoon any excess sauce over the chicken.

Adjust your oven's rack so that the skillet will be about 6 inches from the broiler unit and turn the broiler on to high. Transfer the skillet to the oven and broil for about 5 minutes, or just until the BBQ sauce caramelizes on the edges of the chicken and pineapple. 

If you don't have an oven safe skillet** you can transfer the chicken, pineapple, and ALL of the sauce to a casserole dish for broiling, or skip the broiling step.

**Do not put Teflon skillets, or skillets with plastic handles in the oven


Thursday, July 13, 2017

Mustard Coleslaw


I seem to be on a bit of a coleslaw kick lately. That's because I can use it so many ways. 

Maybe you think of it as just a BBQ side dish, but it can do so much more. I love to use it as a topper for hamburgers, I really love it on any type for BBQ sandwich like pulled pork. And I have recently been using it as an addition to my green salads. I think it packs an amazing crunch, and I love the vinegar and sweet combination that comes with that crunch.  If you haven't tried coleslaw in different ways, I highly recommend it. 


When I made this recipe, I made a few changes.  I almost always use bagged coleslaw.  I have a crazy love for the broccoli slaw, but I just used the coleslaw mix here. It saves me a bunch of prep-time and some days that is worth it to me. 

I also didn't add any sugar. I know that almost all coleslaw recipes have a bit of sugar to cut the acidity of the vinegar, but Joseph has been trying to eat food with no added sugar at all, and we thought we'd give it a go.  Although it did taste different, it wasn't bad, and I think the mustard adds so much that you can totally get away with it. 


Ingredients

7 cups finely shredded green cabbage (about 1/2 head)  (I used the bagged coleslaw)
1 cup thinly vertically sliced red onion 
1 cup grated carrot 
1/4 cup white wine vinegar  (you can use rice wine vinegar if you don't have it, plain white vinegar will give it a much stronger taste, but you can use that as well. I wouldn't buy a special vinegar just for this. )
2 tablespoons sugar 
2 tablespoons whole-grain mustard 
2 tablespoons reduced-fat mayonnaise 
1/8 teaspoon salt 
1/8 teaspoon black pepper 
1/8 teaspoon ground red pepper


Directions
Combine cabbage, onion, and 1 cup carrot in a large bowl. 

Combine white wine vinegar, sugar, mustard, mayonnaise, salt, black pepper, and red pepper in a small bowl; stir well with a whisk. 

Add the mustard mixture to cabbage mixture, and toss well to coat. 

Cover and chill for 20 minutes. Stir before serving.


Friday, June 30, 2017

Sweet Tropical Mango Pineapple Coleslaw


My family gets experimented on a lot. I am always trying out new things on them. Sometimes they are a wild success and other times...  well, not so much. 

My mom has a huge summer party at the beginning of the summer. It is glow stick dance party and it is huge. If you follow me on instagram or social media, then you have seen all the pictures. It is wild fun!

We have a huge potluck dinner and this year, my mom got smoked pork and beef brisket. I was in charge of make a coleslaw to go with. This is prime experimenting time!


This recipe ends up tasting almost traditional with the addition of the celery seeds, but the pineapple and mango along with the orange in the dressing make it really bright and make it taste like a whole lot more than just cabbage. 

I used a bagged shredded super food mix.  It has cabbage as well as kale, brussels sprouts and broccoli stems. I really like it, as cabbage can get well, a little bit plain. 


You can also make this right before you want to serve it, because with the added citrus and all the fruit juices, you don't need to sit it too long to marinate. You can make it and then it can chill when you finish up the rest of the meal (or clean up the kitchen) and then it is ready to go. 


Ingredients

Slaw
2 cups Super Foods coleslaw mix (or any chopped cabbage mix)
1/2 red bell pepper, finely diced
1 rib celery
1/3 cup sliced green onions
3 heaping tablespoons chopped cilantro
1/2 cup diced mango
1/2 cup diced pineapple

Dressing
3 tablespoons mayonnaise
1 tablespoon cider vinegar
1 1/2 tablespoons fresh orange juice
1 teaspoon dijon mustard
1 teaspoon celery seed
1 tablespoon sugar
1 heaping teaspoon orange zest (buy 1 orange and use for juice and zest)
1/4 teaspoon kosher salt
1/8 teaspoon black pepper
1/4 teaspoon onion powder


Directions

Combine all slaw ingredients and gently toss.  

Whisk dressing ingredients together.  

Add dressing to slaw and toss gently until everything is lightly coated.  

Chill for 15 minutes.


Wednesday, May 31, 2017

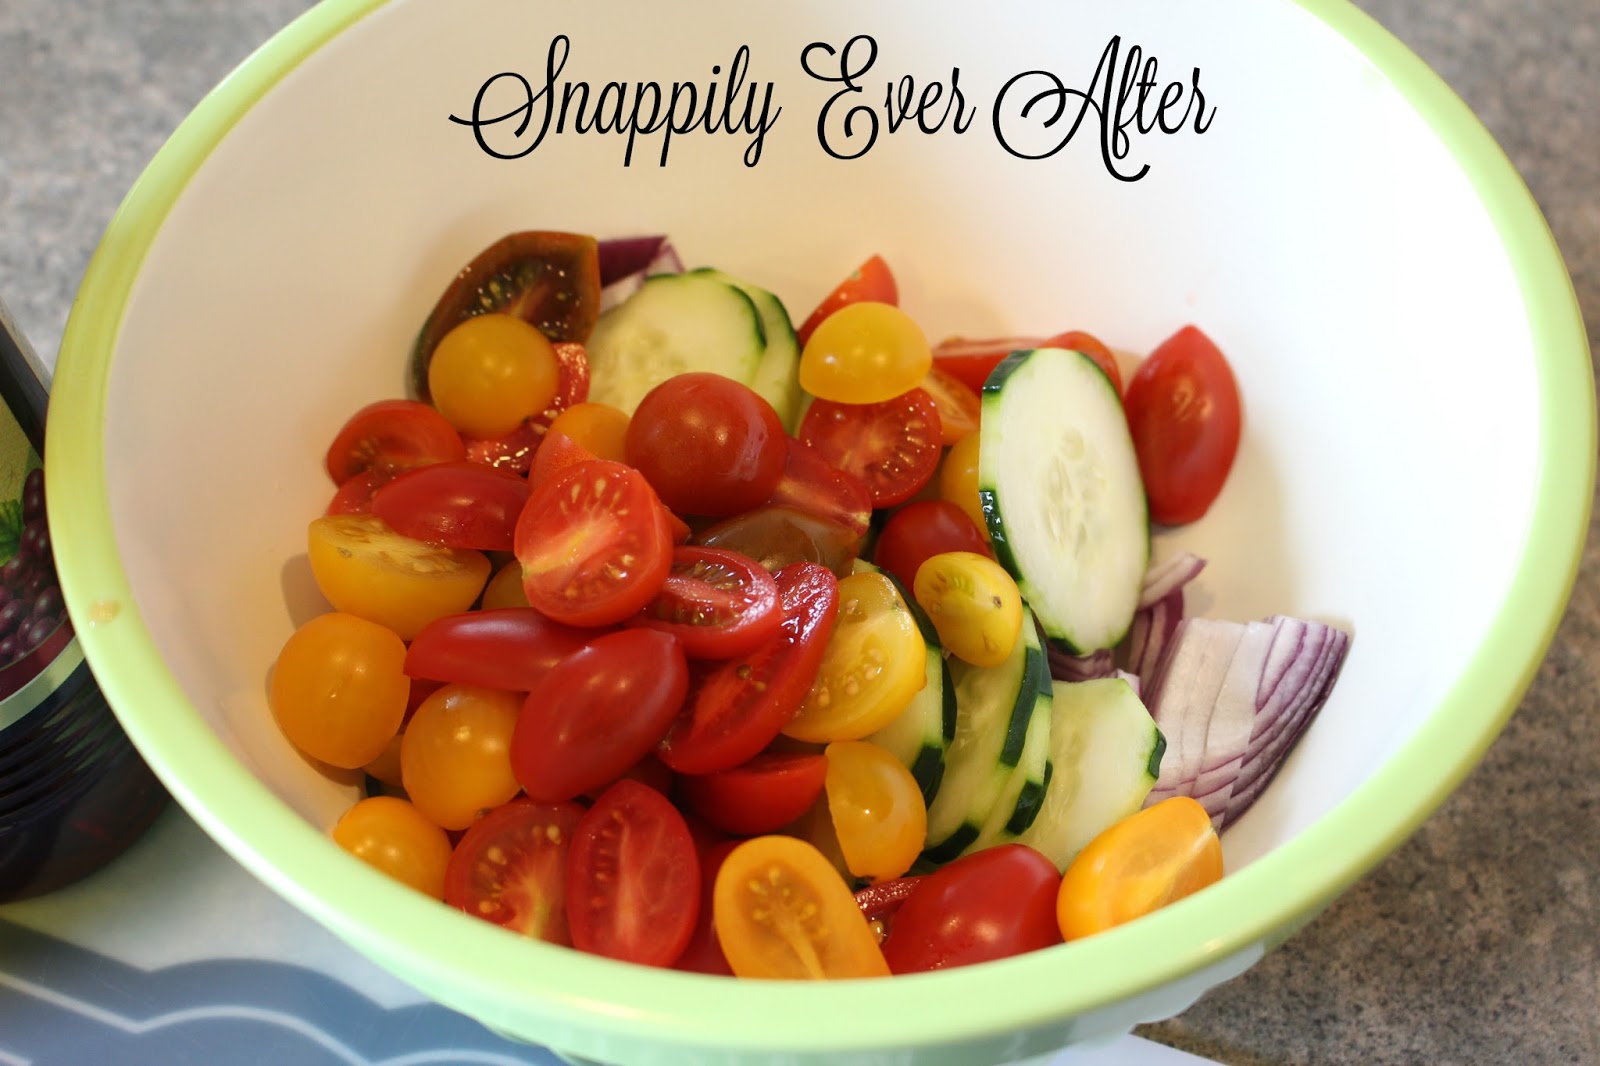
Easy Summer Tomato and Cucumber Salad


When summer rolls around I wait with so much excitement for my first taste of farm fresh tomatoes. I won't say Home Grown, because I don't grown my own, but I sure scoop the up at the farmers' market and the local farm stands. I even have been known to sneak them from my mother in law's garden. 


Growing up, it was a favorite of our family to slice up fresh tomatoes and cucumbers and put them on a plate, salt and pepper then and then put a big old glob of mayonnaise.  (You Guys! I can barely type that I am craving it so bad!) 


This recipe is much healthier than that, using olive oil instead of mayonnaise as the fat.  - it tastes so good because the fat balances out the acidity of the vinegar. 

And instead of all that salt, you can use fresh or dried herbs. 


Fresh ingredients, prepared simply are some of my favorite things to eat in the world. This recipe is absolutely one of those, it takes 5 minutes or less of slicing and 1 minute to make the dressing. You'll be making this for summer bbqs, dinner on hot nights and lunch during the week. (because the flavors get better each day - if it lasts that long)


Ingredients:

Dressing:
¼ cup olive oil
2 Tbsp red wine vinegar
1 tsp dried oregano
½ tsp salt
Freshly cracked pepper

Salad:
4 Roma tomatoes (or two medium tomatoes) (or 2 cups of grape tomatoes cut in halves)
1 medium cucumber
½ small red onion 


Instructions:

Whisk together the olive oil, red wine vinegar, oregano, salt, and some freshly cracked pepper in a bowl, or combine them in a jar and shake until mixed. Set the dressing aside to allow the flavors to blend.

Cut the tomatoes in half,  slice the cucumber, and red onion. I slice the red onion really thin, so that the vinegar will "cook" the onion and make it not quite as strong. - I also leave the slices long so that people (kids) can pick them out. 

Place them in a large bowl.

Pour the dressing over the sliced vegetables and toss to coat. Serve immediately, or refrigerate until ready to eat. 


Friday, February 3, 2017

BBQ Beef Sliders with Grape Jelly Sauce


I am going to confess to you, I killed a pot roast the other day. It was so dead and it was so sad. The poor dry little thing. I made gravy to try and cover it up and serve it, and my sweet kids pushed it around on the plate, but it sat in the fridge as sad leftovers that kept getting looked over and looked over and frankly, were just waiting to die.

You know I can't let that happen. It was a challenge sitting there in my fridge - go ahead... make me something delicious. I knew I had to do it.  And now that I have confessed to you that this whole idea came from a failure, I am going to brag to you  that these turned out AWESOME!

They got me TWO full mouth hugs at the dinner table that sounded like... 'Momm... theeessse are sooooo aethomee"  Which means, Yah! I did it.  We got mad skills you guys. You and me, we are not going to be beaten by dry pot roast - Oh No!  We are making saucy sliders that our family not only devours, but comes home from school / work the next day and gobbles up until they are gone.  Pot Roast Gone!


So this is the recipe for BBQ sauce grape jelly sauce that everybody makes with the meatballs.  And I thought, hey! meatballs are cooked, and pot roast is already cooked...  Hmmm..... 

So I made the sauce ( with the homemade Chili Sauce -- and homemade grape jelly  ** You Guys! WHO AM I?!) 

And I put it all in the crock-pot to warm up. So just 2 1/2 - 3 hours.  I picked up rolls at the store, and I cut slices of cheese into 4 pieces and topped it with a pickle.  Can you believe it was that easy. 


Grape Jelly BBQ Sauce

Ingredients:
32 ounces jar grape jelly
1 pinch cayenne pepper (optional)

Pot Roast or Meatballs. 


24 Slider Rolls
8 slices of cheddar cheese cut into quarters
24 pickle slices


Instructions:

Combine your sauce ingredients in the crock pot and whisk them together. Then all your already cooked meat. I added a leftover pot roast that I had cut and shredded. Lots of people make this recipe with pre-cooked meatballs.

Let your meat heat up and marinade in the sauce for 2 1/2 to 3 hours until heated through.

Then put onto slider rolls and top with cheese and pickle slice!

Wednesday, February 1, 2017

Homemade Chili Sauce


Making condiments at home can be something you never ever think about. It might even be something that you think that you can't do. But once you start making them, you'll love the taste so much more and believe it or not, even though you may add sugar or salt, you'll have a product that is so much better for you than the version you'll buy at the store. -- Plus, making a bottle of chili sauce at home costs me the price of a can of tomato sauce and a few spices. That is less than half the price of buying a jar of prepared sauce.  WOW! That is a lot of savings. 

This is a copy-cat of the Heinz Chili sauce. It is an ingredient in a super easy BBQ sauce that I love to make -- You know, the one with grape jelly! Grab a can of tomato sauce, and make something amazing. Here we go... 


Ingredients:

1 (6 ounce) can tomato paste
1⁄2 cup water
1⁄2 cup light corn syrup
1⁄2 cup distilled white vinegar
1 tablespoon minced onion flakes
1 teaspoon sweet chili powder
1 teaspoon salt
1⁄2 teaspoon Worcestershire sauce
1⁄4 teaspoon ground allspice
1⁄8 teaspoon ground cloves
1⁄8 teaspoon garlic powder
1⁄8 teaspoon red chili pepper flakes
1⁄8 teaspoon pepper

Directions:

Whisk together all ingredients in a medium bowl: tomato paste, water, corn syrup, vinegar, onion flakes, chili powder, salt, Worcestershire sauce, allspice, cloves, garlic powder, red chili flakes, pepper.

Simmer the sauce in a small saucepan over low heat until proper/desired consistency is reached

Remove the sauce from heat and allow to cool completely.

You can serve it immediately, or you can store it in the fridge or use in recipes.

It is part of my favorite BBQ sauce in the world.  I mix it with grape jelly!

Wednesday, August 17, 2016

Cabbage Steaks with Balsamic Honey Glaze


Cabbage was made for the high heat of grilling or a roasting oven. My cousin makes these and posts the pictures on social media and my mouth just drools every time she does. 

When we got a cabbage in our CSA box, this is the first thing that I knew I wanted to do with it. 


Ingredients
1/2 head of savoy cabbage cut in to 1/2" thick rounds
3 tbsp extra virgin olive oil
3/4 tsp course sea salt
1/2 tsp ground black pepper
3 tbsp good quality balsamic vinegar
2 tsp honey
A few sprigs of fresh thyme (Optional)


Directions:
Preheat your oven to 400°F. Brush a rimmed baking sheet with 1 tablespoon of the olive oil.

In a bowl, combine the remaining olive oil, balsamic vinegar and honey.

Arrange the cabbage slices in a single layer and brush with the honey balsamic vinaigrette. Season with the coarse salt and ground pepper and sprinkle with thyme. Roast until the cabbage is tender and the edges are golden (appox 25 to 30 minutes).


Cook longer ran than less time, You'll want your cabbage to nice and sweet and tender and not crispy and raw still. If you think it still needs another 10 minutes, go for it.


Saturday, August 6, 2016

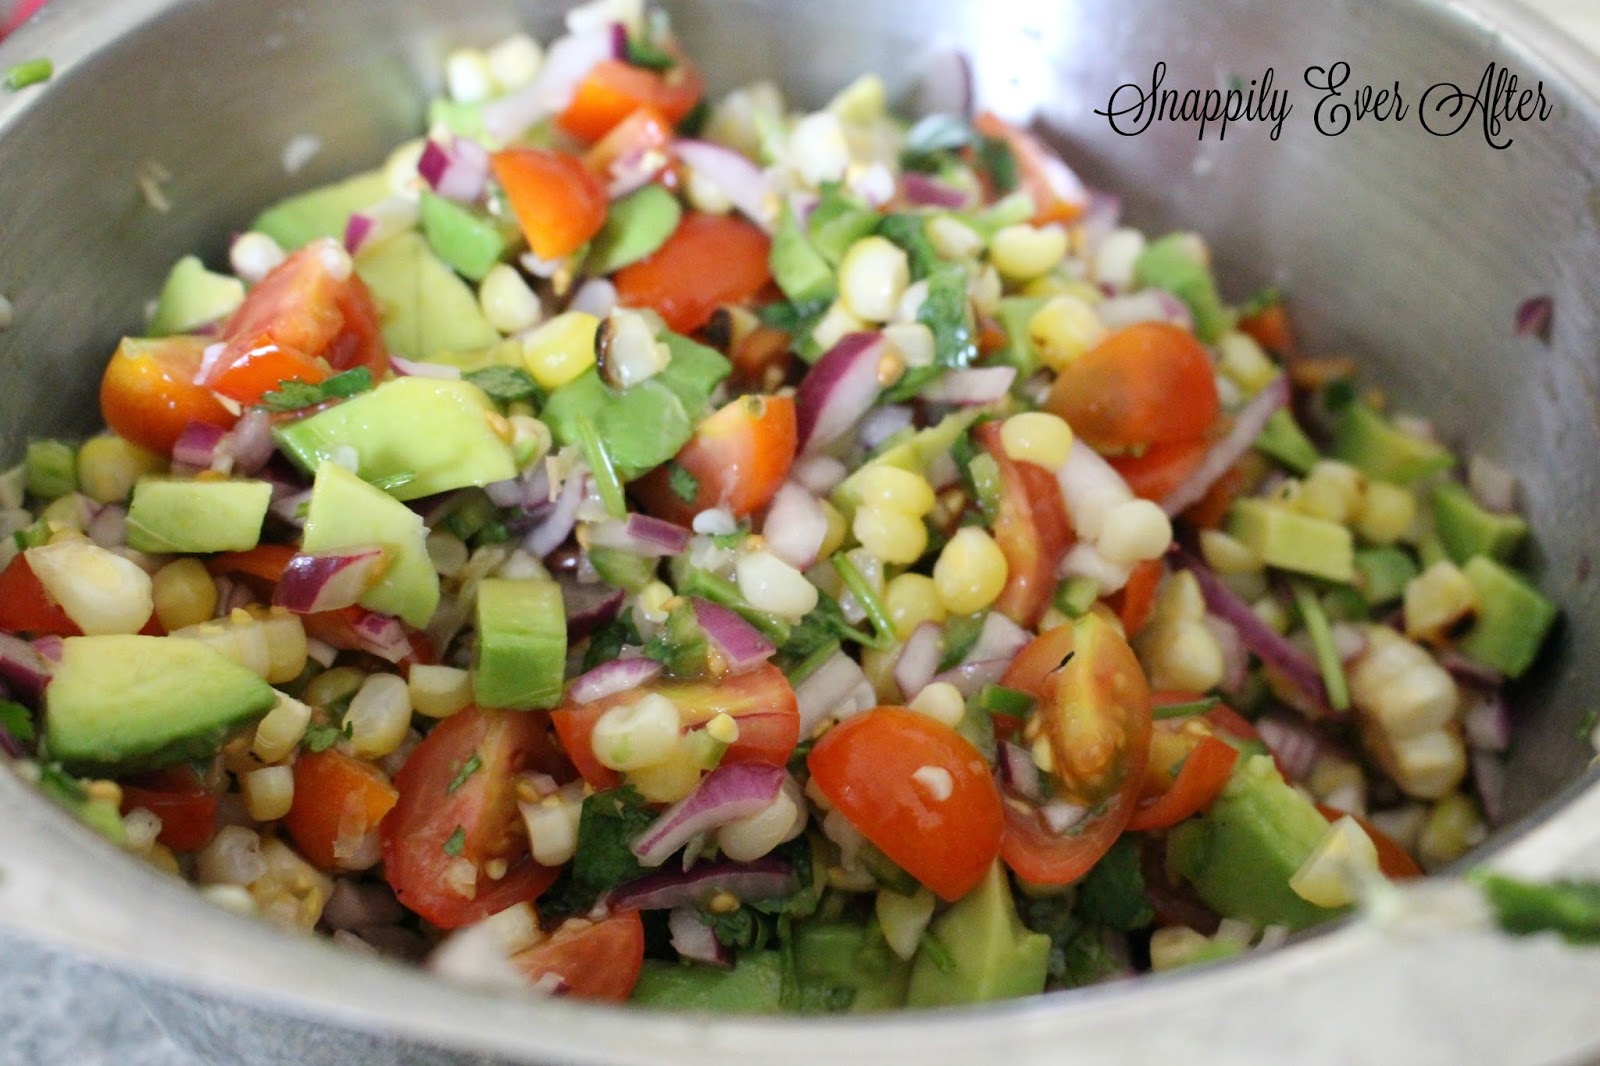
Grilled Sweet Corn Salsa


Fresh salsa is one of my favorite foods in the world. I get so excited when the summer produce comes around and I can make this. 

I had a few ears of leftover corn the other day and decided to put them into the salsa. They made something that I absolutely love even more amazing. I'll confess, I bypassed the chips and just ate it with a spoon. 


Ingredients:

If you don't already have cooked corn - 
2 teaspoons kosher salt, plus more to season at the end
4 ears sweet corn, husked, scrubbed to remove the silks


1-2 tablespoons olive oil
1 cup chopped fresh tomatoes
1/2 cup chopped red onion
1 small ripe avocado, peeled, pitted and chopped
2 tablespoons minced fresh cilantro
1 serrano pepper, stem and seeds removed, diced
1 jalapeño, stem and seeds removed, diced
juice from one lime


Directions: - For the Corn

Fill a large pot of water, add 2 teaspoons of salt and bring to a rolling boil. While the water is heating, heat the grill to 400°F. When it reaches 400°F, clean and oil the grill.

Place the corn into the boiling water and cook for 5 minutes. Remove with tongs, allow excess water to drain back into the pot and pat with paper towels to dry.

Lightly brush the corn with the olive oil and place on the grill, turning every 30 seconds to a minute, allowing browned spots to form. Total grilling time will be 2-3 minutes. Remove corn from the grill and allow to cool for 5 minutes.


 Directions - For the Salsa:

Remove the corn kernels from the cob with a sharp knife and place into a medium-size mixing bowl.

Add the tomatoes, red onion, avocado, cilantro, serrano, jalapeño, and lime juice, and toss to combine.

May be served immediately or covered and refrigerated for a few hours to allow the flavors to blend. Salt to taste prior to serving.


Monday, September 14, 2015

BBQ Rice Bowl


Now that it looks like summer is really going to be ending, I am feeling a bit nostalgic for summer flavors.  I keep enjoying foods and thinking - "Oh, I am so going to miss this!"

There is just something about a vine ripe tomato at the first of August and just never tastes as good in February. (Well Obviously!)

We had the last hoorah of summer fun this weekend, and I realized I am going to be missing BBQ food. The tangy coleslaw, the big pot of baked beans, pulled pork sandwiches on crusty rolls, slices of watermelon with the juices running down your arms and spitting seeds in the grass - eating on a paper plate that is about to collapse in your lap!  Ahhh Summer, you've been so good. 


We had a bit of leftover food from the party. It wasn't exactly enough to make a whole meal out of for the whole family, but I absolutely did want to eat it up. 

I thought about making a salad - which is my favorite quick go-to for using up leftovers, stretching them further, and making them taste "new".  But as creative as even I get, I was having a hard time imagining baked beans on a bed of lettuce. 

So what's the next best way to eat everything all together ... in a Bowl!!


I cooked some rice up on the stove while I got the leftovers out and started to heat them. 

We had leftover BBQ Chicken, but pork or beef would work just as well. 

I put a serving a rice in the bottom of bowl. You could use quinoa as well, if you wanted. 

Then put the rest of your sides onto your rice, We had baked beans and some broccoli slaw. 
If you are wanting to make this - The baked beans are straight from the can - and the broccoli slaw is made straight like the recipe on the bag of the bag says. 


Believe it or not, one of the best things you can do for your budget is to eat the food that you have.  I know that sounds crazy, most of us are thinking... don't we already Do that?

But as someone who has spent the vast majority of her life being totally grossed out by leftovers, I know how much food it is possible to throw away because it just doesn't seem "yummy" or as exciting to eat something the second day. 

Don't be scared of your leftovers, Don't be nervous to serve things up in a little bit different way. 

You just might end up making something that you'll be bragging about to all your friends.